
You’ve started laying out your pages and adding content and components. But there is something you’re website wouldn’t be complete without — your images. These visual assets breathe life into your pages, serving as dynamic showcases for your programs or departments. While your users engage with the visible content, the seamless management of your media library behind the scenes is equally important. Ensuring a clean and effective media library not only streamlines your responsibilities but also enhances the overall user experience. Today, we’ll talk about four tips for managing an effective image media library.
Tip 1: Keep in mind image naming and file size
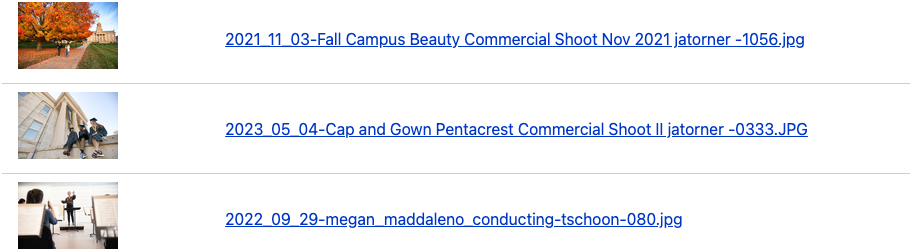
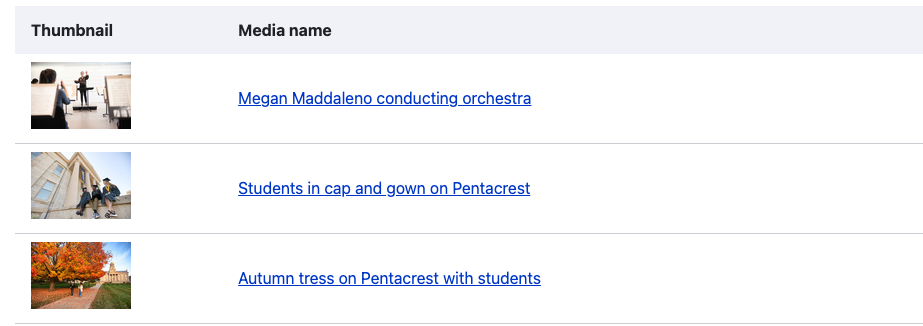
As you source images for your website using Mediagraph or another other platform, it is important to give your file a name. You may be tempted to go with the default naming convention, but don’t be. Naming your image with something descriptive will help you remember what the image is showcasing and will help you as you search for images in your media library later on. Additionally, image names can also help SEO, so having a descriptive name may not only make your life easier for the editors who work on your website, but could also boost your rankings for relevant queries.
Once you’ve found your image you want to upload into your SiteNow site, it can seem easy that you should just pick any available size. But you should download a high-resolution, small file size image. Doing so will ensure faster loading and a great viewing experience. As you work through your site, we have additional recommendations on image sizes for specific components in Layout Builder.
Tip 2: Add effective alt text
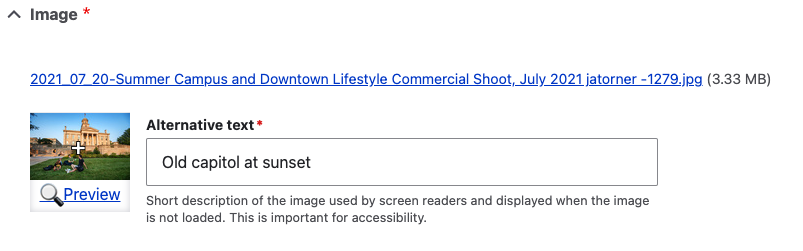
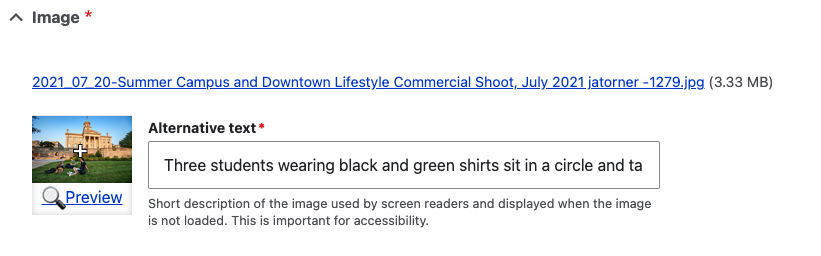
When uploading and adding images, you will be prompted to give your file alt text. Alternative (alt) text is used for users who may have different levels of visual impairments and is read aloud by a screen reader. This is a short snippet of text that states what is being displayed in the image. This allows users who have visual impairments to get an understanding of what is being displayed when they may not be able to see the images themselves.
Writing this text may seem like an afterthought, but it shouldn’t be. It’s vital that your text is accurate and clearly describes what is taking place in the image. For example, if you have two students sitting in on the Pentacrest, you could use alt text to say: “Two students with yellow and black shirts sitting in the grass on a sunny day in front of the Pentacrest.” This text is clear and ensures that users can understand what is going on in the image. By writing effective alt text, you can ensure that users of all abilities can successfully navigate your website.
Tip 3: Avoid multiple uploads
While it's tempting to add lots of eye-catching images to your site, take a moment to be mindful of duplicates. Before hitting that upload button, give a quick glance to your media library using the search function. This not only saves space on your site but also keeps things consistent by using the same image when it's called for, avoiding any unnecessary copies. This means you can reuse that image file throughout your site without the hassle of uploading it every single time.

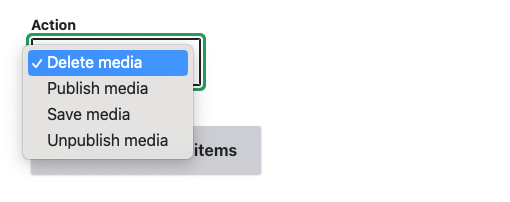
Tip 4: Remove images you no longer use
Keeping your media library in order means doing a little cleanup from time to time. When you add fresh visuals to your site, it's a good idea to retire those older images that have served their time. This not only clears up space and clutter but also keeps your media library organized, making life easier for you and your fellow content editors.
By embracing these tips, you'll cultivate a media library that is both efficient and clean. With a well-organized media library, you're not just managing content; you're making sure that management of your content is as smooth as it can be. This not only simplifies your work as a website owner, but can also help contribute to a stress-free experience for all content editors involved in adding and managing website content.