Instructions last updated: May 22, 2025
Submitting a sitemap to Google Search Console can seem overwhelming, but it doesn't have to be. We've crafted a comprehensive step-by-step guide and helpful video tutorial to provide you with the information you need to navigate this essential aspect of web optimization.
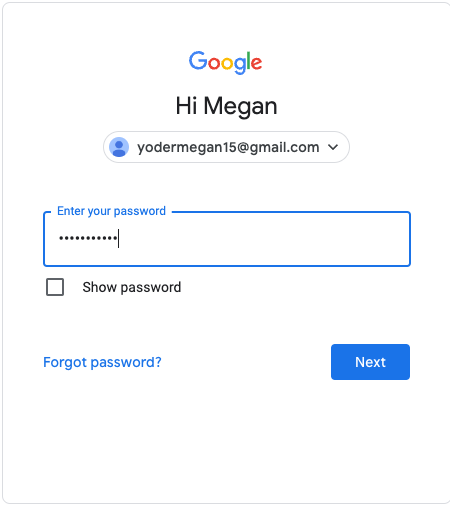
Step 1: Sign into your Google Search Console account
First, go ahead and sign into Google Search Console using your Gmail email account. This is the first step to submitting your sitemap for indexing. If you don’t have a Gmail account, you’ll need to create one to use Google Search Console. You can view instructions on creating a Gmail email account here.
Once your Gmail account is ready, go to Google Search Console's website and click "Start Now" to begin.
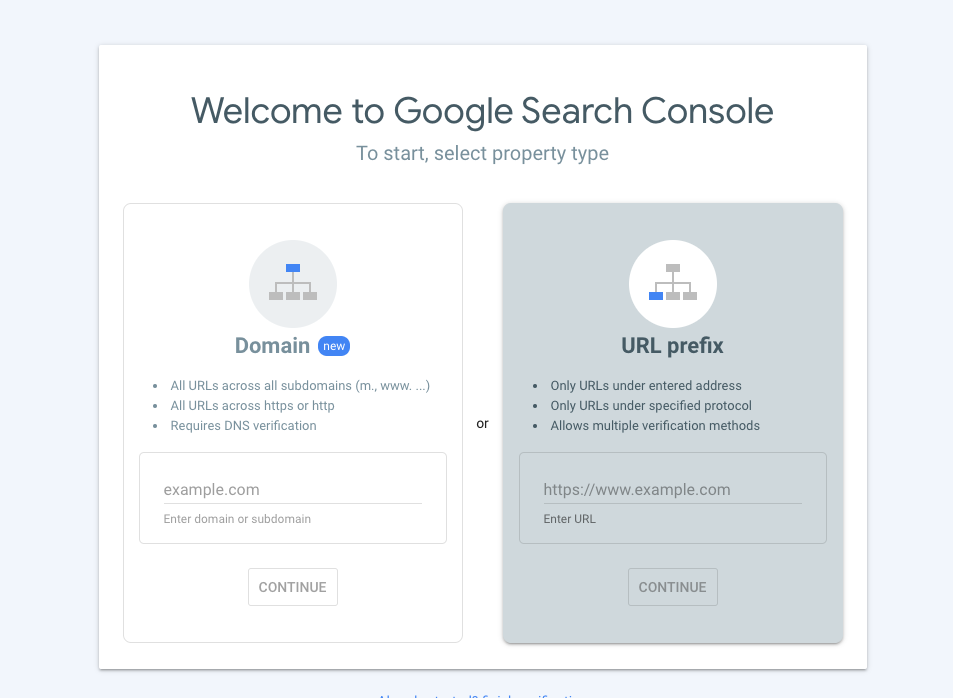
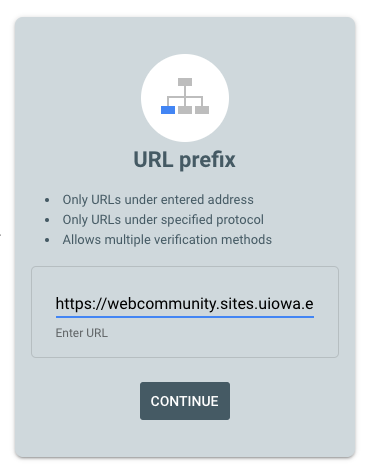
Step 2: Select a property type
Next, add your property. You will need to add your university site using the URL Prefix option in Search Console (as shown in the following screenshot).
Step 3: Add your site domain name using the correct protocol
Next, type your site's URL prefix and URL. It's important to use the correct protocol (typically https://) and not just the site name! For example, https://yoursitename.uiowa.edu.
Most campus sites should use HTTPS (https://) these days. If you are adding a SiteNow website, always use this protocol.
If you don't include the https://, it might seem like data is coming in to Search Console, but it will be incorrect and inaccurate. In other words your property won't be successfully added and the reporting will be misleading.
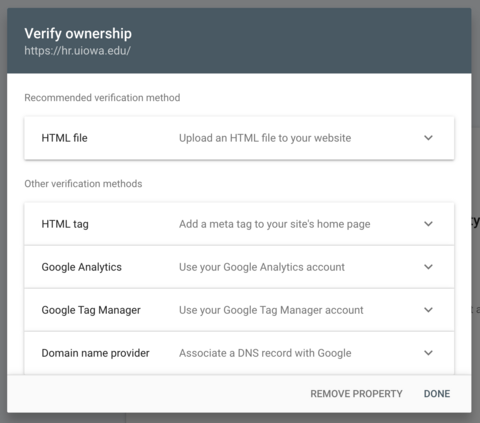
Step 4: Verify your website (choose one of two methods)
The next step is to verify your website in Google Search Console. There are several verification options available, including HTML tag, Google Analytics, Google Tag Manager, and Domain name provider.
In this article, we’ll focus on two commonly used methods: verifying your site using Google Analytics and verifying it using an HTML (meta) tag. Both of these methods are fully supported and valid.
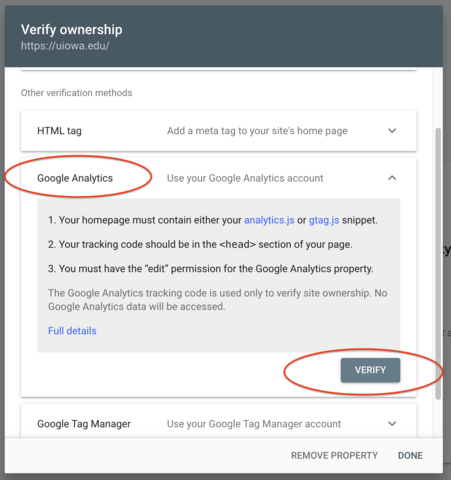
Method 1: Verify using Google Analytics
In most cases, verifying your site with Google Analytics is the easiest option. This method allows Google to confirm ownership by using an existing Google Analytics account linked to your website. To use this method, you must already have Google Analytics set up for the website you want to verify. You also need to be signed into Google Search Console with the same Gmail account that has access to that Google Analytics property. Additionally, your Gmail account must have at least "Editor" permissions for that property.
It’s important to note that simply having a Google Analytics account isn’t enough—you must be using the same Gmail account for both Google Analytics and Google Search Console.
To proceed, simply expand the Google Analytics section in Search Console and click, “Verify.”
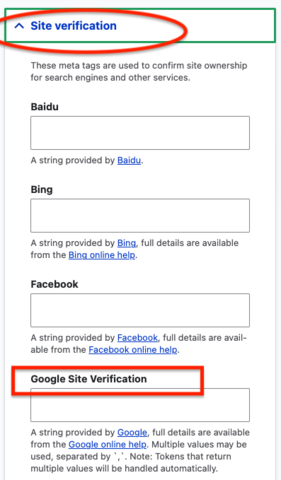
Method 2: Verify using an HTML (meta) tag
To use this method, open the HTML tag section in Google Search Console. You’ll see a meta tag provided for verification. Copy the meta tag, then log in to your website and go to your homepage. Next, click the Edit tab of your page. Once the page loads, locate the SEO Settings panel in the right sidebar. Within that panel, find the Site Verification section, then find the Google Site Verification field. Paste the tag into the Google Site Verification field and save your homepage. This step only needs to be done on the homepage—not on any other pages of your site.
Please note that both verification methods are fully supported and valid. However, one method may be more suitable than the other depending on your setup or preferences. If you already use Google Analytics, the first method is recommended. Otherwise, the second method may be a better choice.
If you need help with the verification process please reach out to the OSC web team.
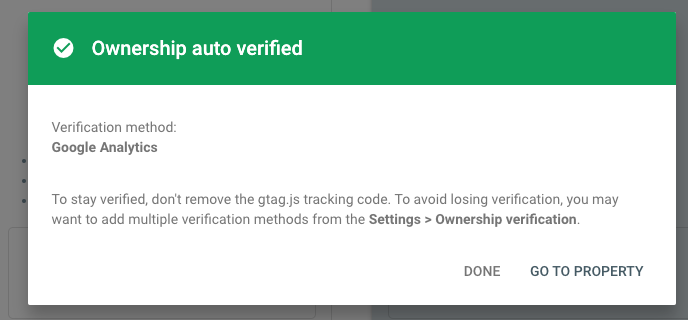
Step 5: Wait for your website to be verified
Once a site has been verified, a screen will display, stating that your property has been verified. Then you can go to your property.
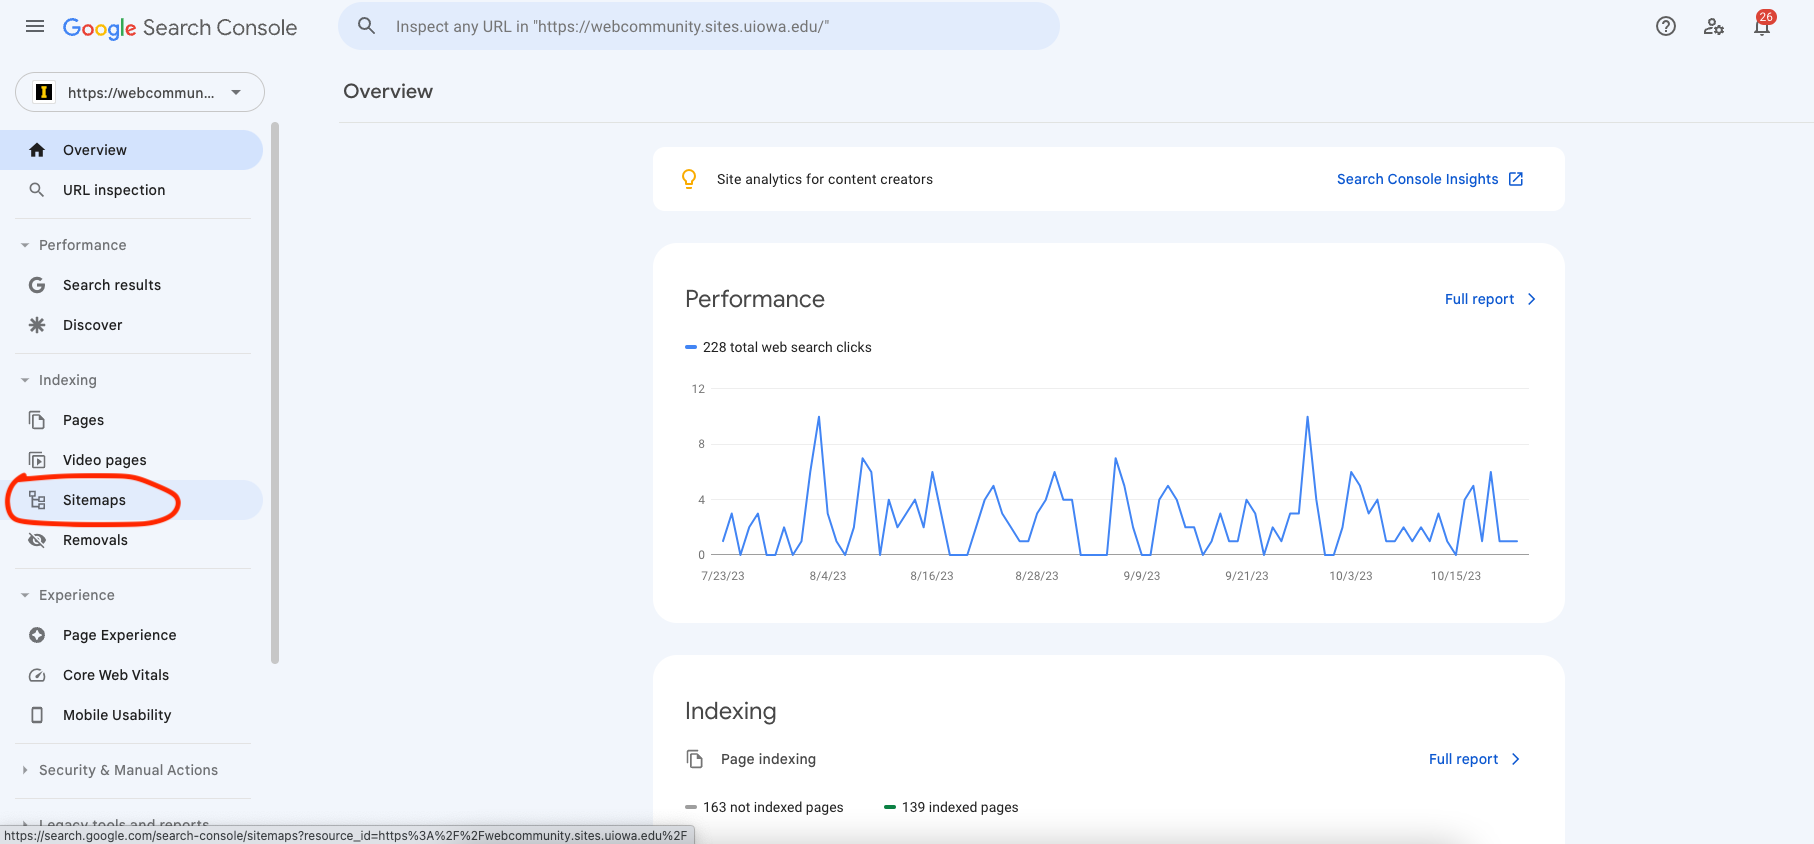
Step 6: Submit your sitemap for indexing
On the left-hand side of the screen, scroll down to Sitemaps.
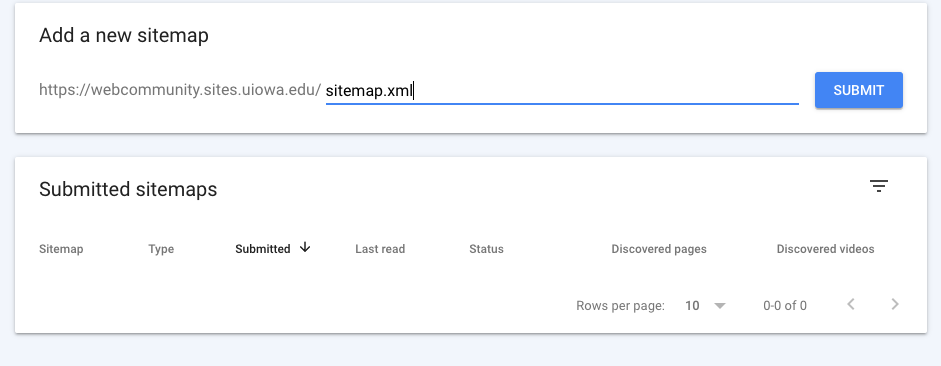
To submit your sitemap for indexing, enter the correct sitemap name. All SiteNow website sitemaps are named sitemap.xml.
Click, Submit. A window will display indicating that you have submitted your sitemap successfully.
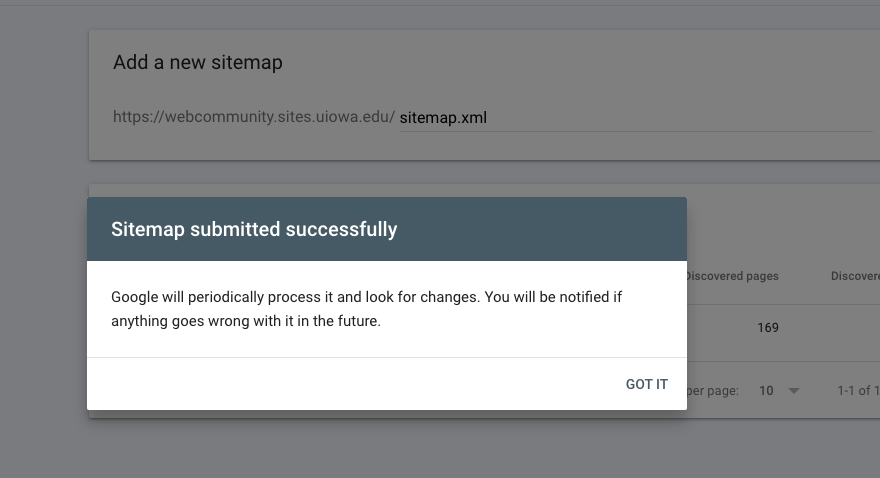

Once you see the green Success message, your sitemap has been successfully submitted to Google. It is important to note that it can take some time for Google to index your site and to display data. Don't worry if you do not see data right away.
It is important to note that whenever you launch a new site or redesign an existing site, you should always submit a new sitemap. Doing so ensures that Google can crawl the most up-to-date version of your site and can provide you with accurate feedback on your website.
Further resources on submitting a sitemap
Explore our supplementary materials, which include a step-by-step video tutorial for sitemap submission, along with an additional informative blog post.
We hope these resources provide valuable information and tips to make sure you're prepared to successfully manage your sitemap and improve your website's visibility.