July 2026 update: "Step 7: Configure your website," reflects the new single interface for configuring Google Analytics and Google Tag Manager in the SiteNow admin.
Setting up Google Analytics can provide valuable insights into your website's performance, such as page views, site visits, and audience behavior. You can set up Google Analytics tracking for your site by creating a free account. Today, we'll guide you through the steps to establish your own Google Analytics account and configure Google Analytics on your SiteNow site.
Step 1: Sign into Google Analytics
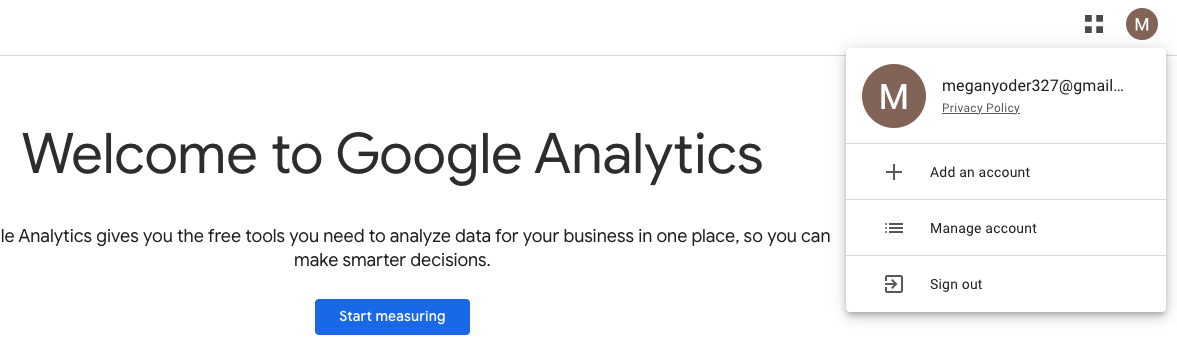
Begin by logging into your Google Analytics account using your Gmail email address. You can access it at https://analytics.google.com/.
Step 2: Set up your property
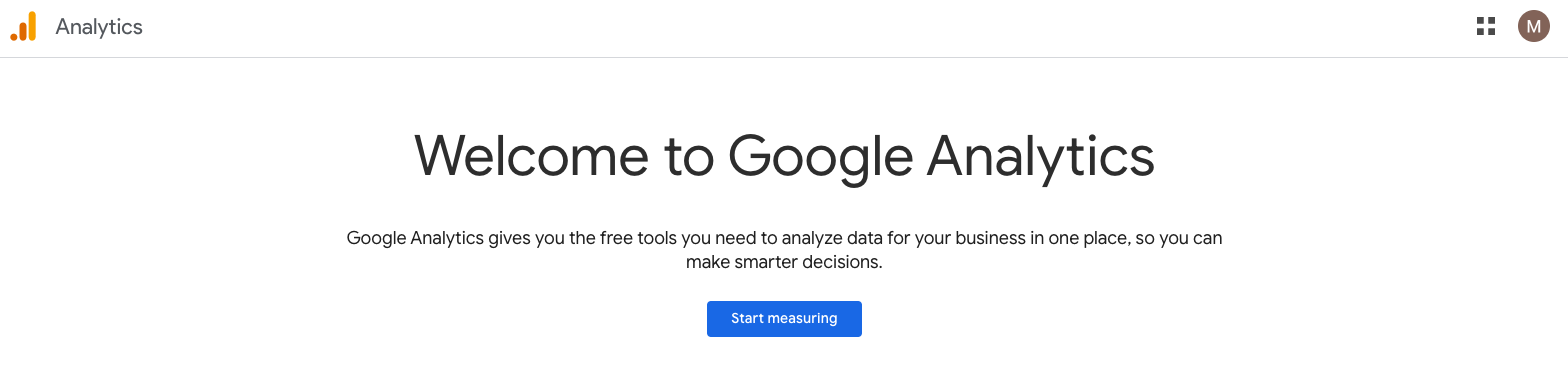
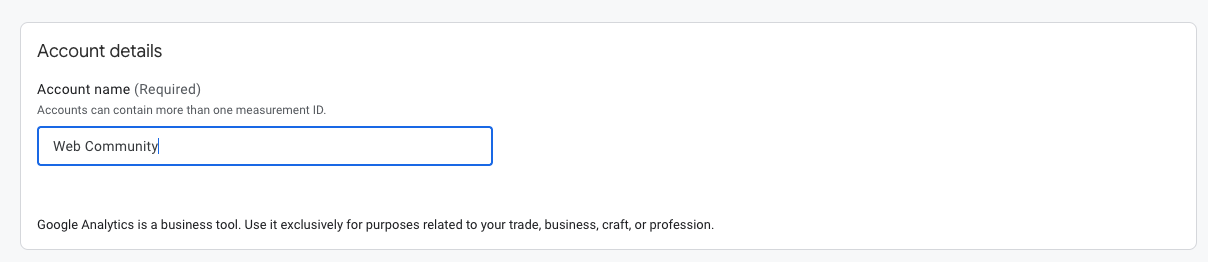
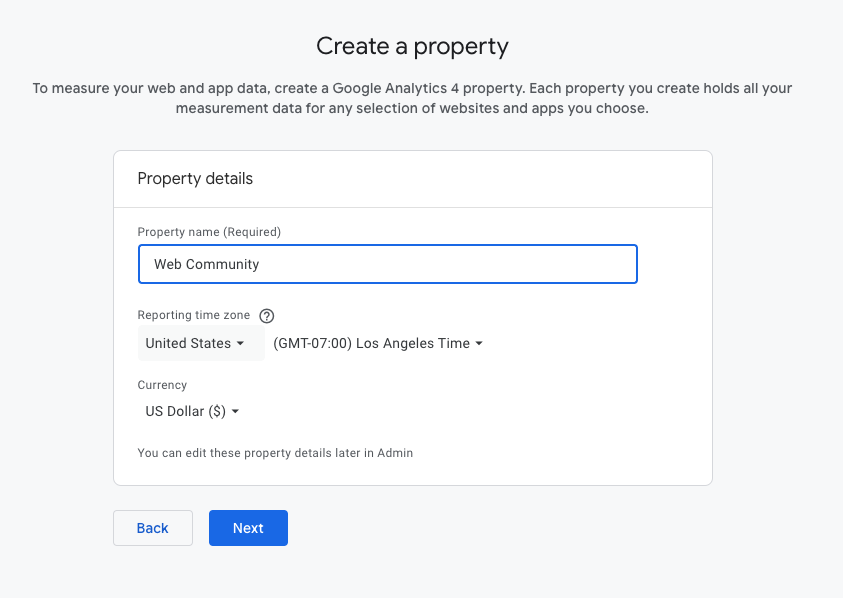
After signing in, click on 'Start measuring' to set up your property. Enter the name of your website, ideally your University of Iowa site name, and proceed by clicking 'Next'.
Step 3: Set up business objectives and details
While setting up, you’ll go through screens for business objectives and details. While these details don’t affect your data directly, you can fill them out accurately if desired.


Step 4: Agree to Terms of Service
Accept Google Analytics' terms of service when prompted by clicking 'I Accept.'
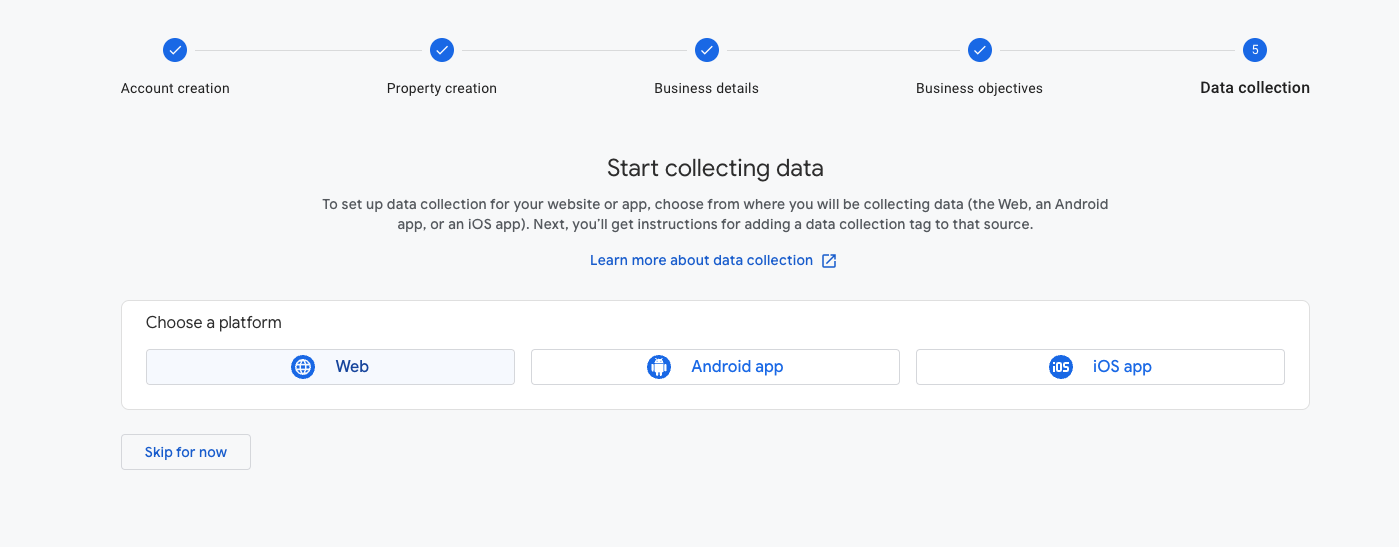
Step 5: Set up data collection
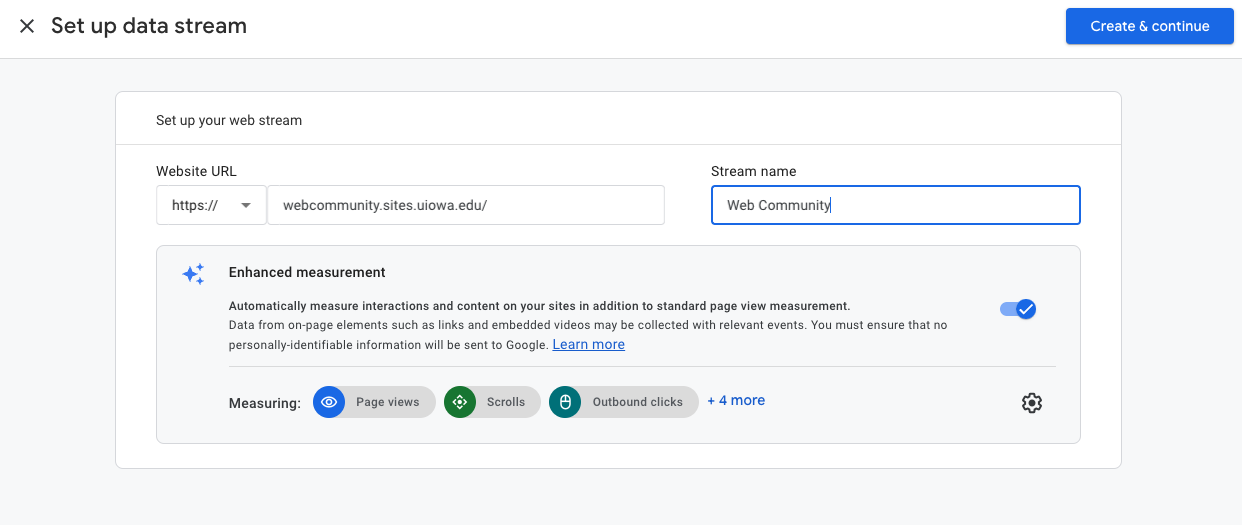
Choose 'Web' as your data collection method. Enter your University of Iowa website URL in the designated field and name your stream (we recommend using your website’s name). Click 'Create and Continue'.
Step 6: Web stream details
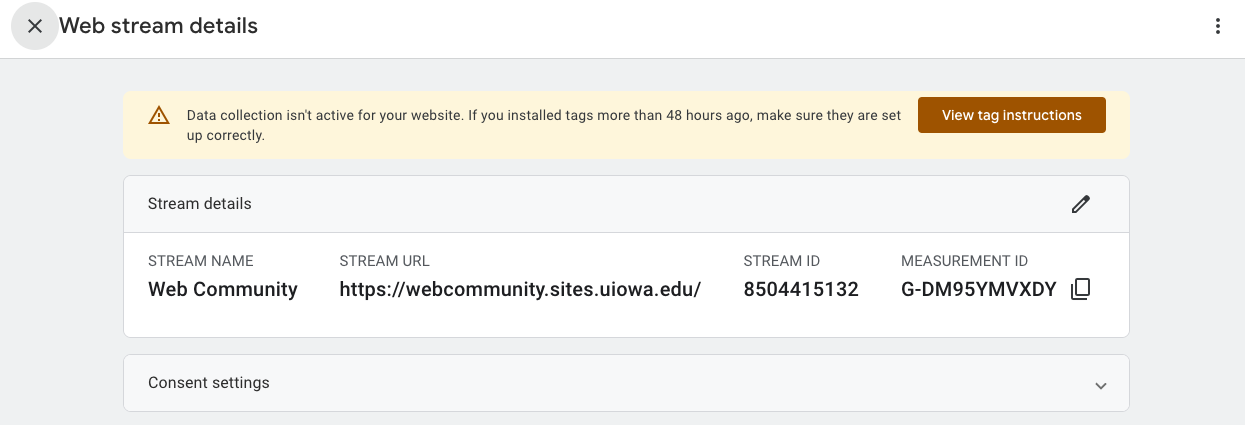
Once set up, you’ll see your web stream details with a unique Measurement ID (a mix of numbers and letters). Copy this ID as you will need it for a final step.
Step 7: Configure your website (updated July 2026)
Log into your SiteNow website’s admin panel. Navigate to Configuration > Web services > Google Tag.
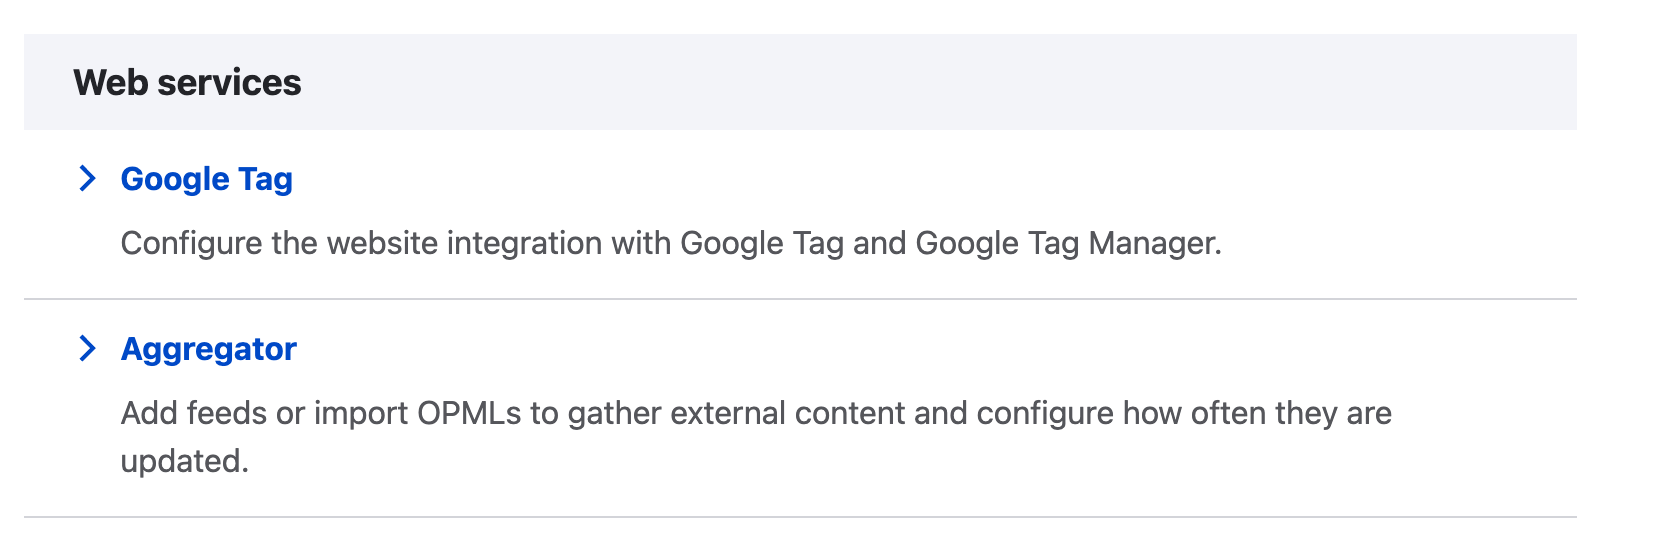
Paste the Measurement ID from your Google Analytics account into the 'Google Tag ID(s)' field. Scroll down and save your configuration.
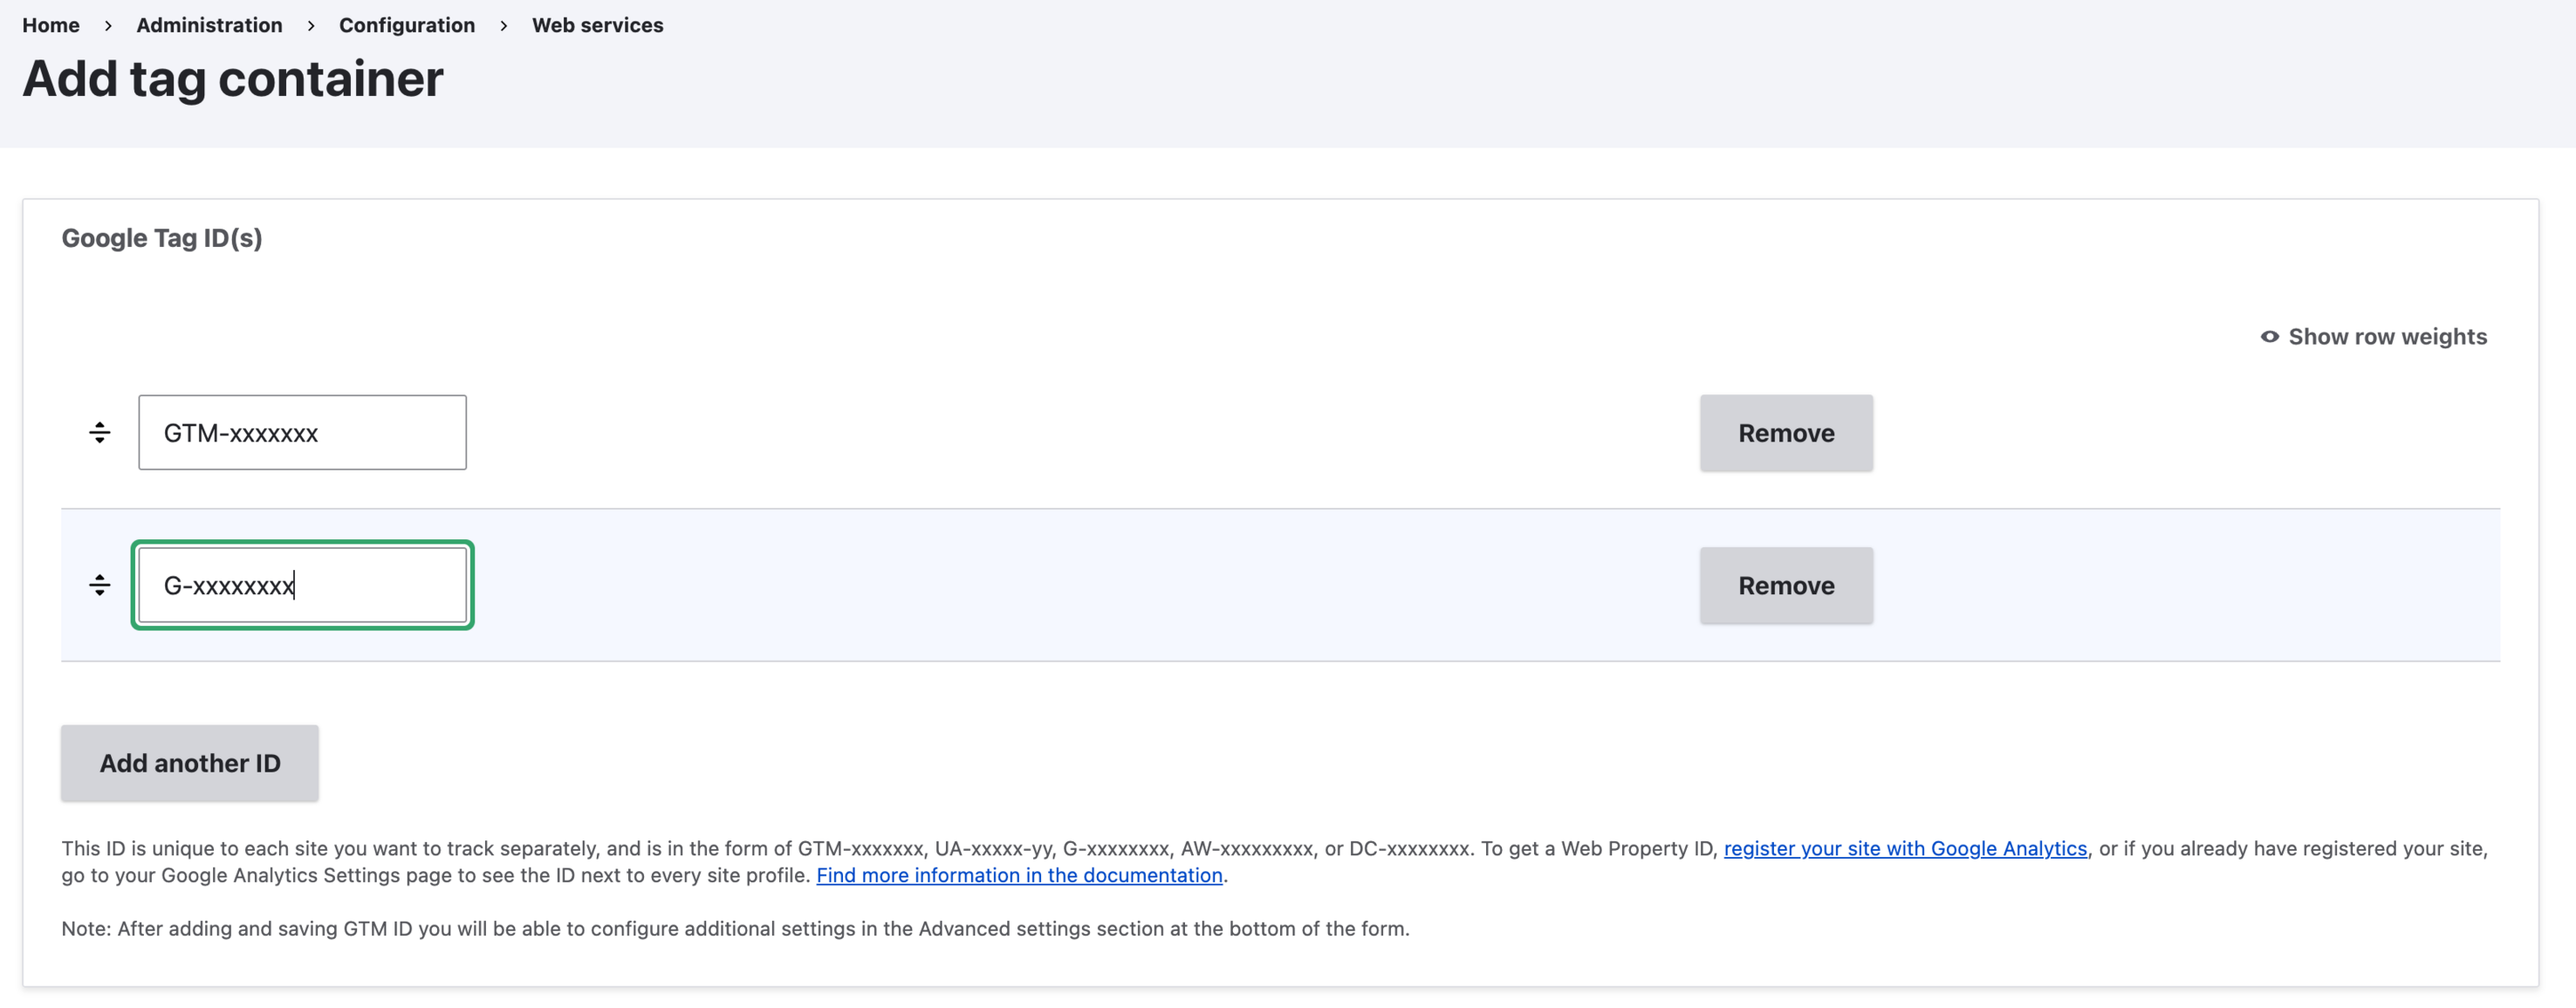
Note: As of July 28, 2026, Google Analytics and Google Tag Manager tracking are consolidated into this single backed interface within SiteNow. In this example, "G-xxxxxxxx" is the sample Google Tag for Google Analytics.
Step 8: Verification and wait
Remember, it may take 24-48 hours for data to appear in your Google Analytics account. Don’t worry if you don’t see immediate results.
Following these steps ensures you successfully set up Google Analytics for your website. This tool will help you track and analyze visitor data, enabling informed decisions to enhance your online presence.